Making Color Schemes in Node Editor
This is a beginners level Blender tutorial about the node editor and materials. If you are already comfortable creating your own materials and more importantly your own node groups there is probably not much I can offer here. Although the examples are for Cycles renderer, it would not be drastically different for Blender’s internal renderer.
Before we begin let me explain what I mean by color scheme. A color scheme is a grouping of specific colors generally for aesthetic or usability purposes. In the context of this post a color scheme is a function that takes some parameters, color or non-color, and produces a list of colors. For example, a simple color scheme could take a color and result in that color and its complement (opposite end of the hue circle).
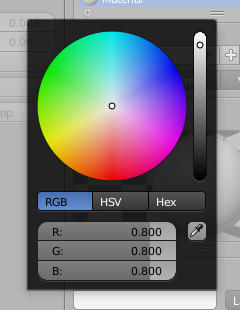
Azimuth on the color wheel translate to hues, radius is the saturation. The third aspect, lighness is represented with the vertical bar on the right.
Scene Preparation
To prepare for the node group we will create, I have made the following changes:
- Create a new project in Blender.
- Switch to Cycles Renderer.
- Arrange the layout to have a large enough node editor and a small 3D view set to material shading mode.
- Check use nodes (in node editor) while the default cube is selected.
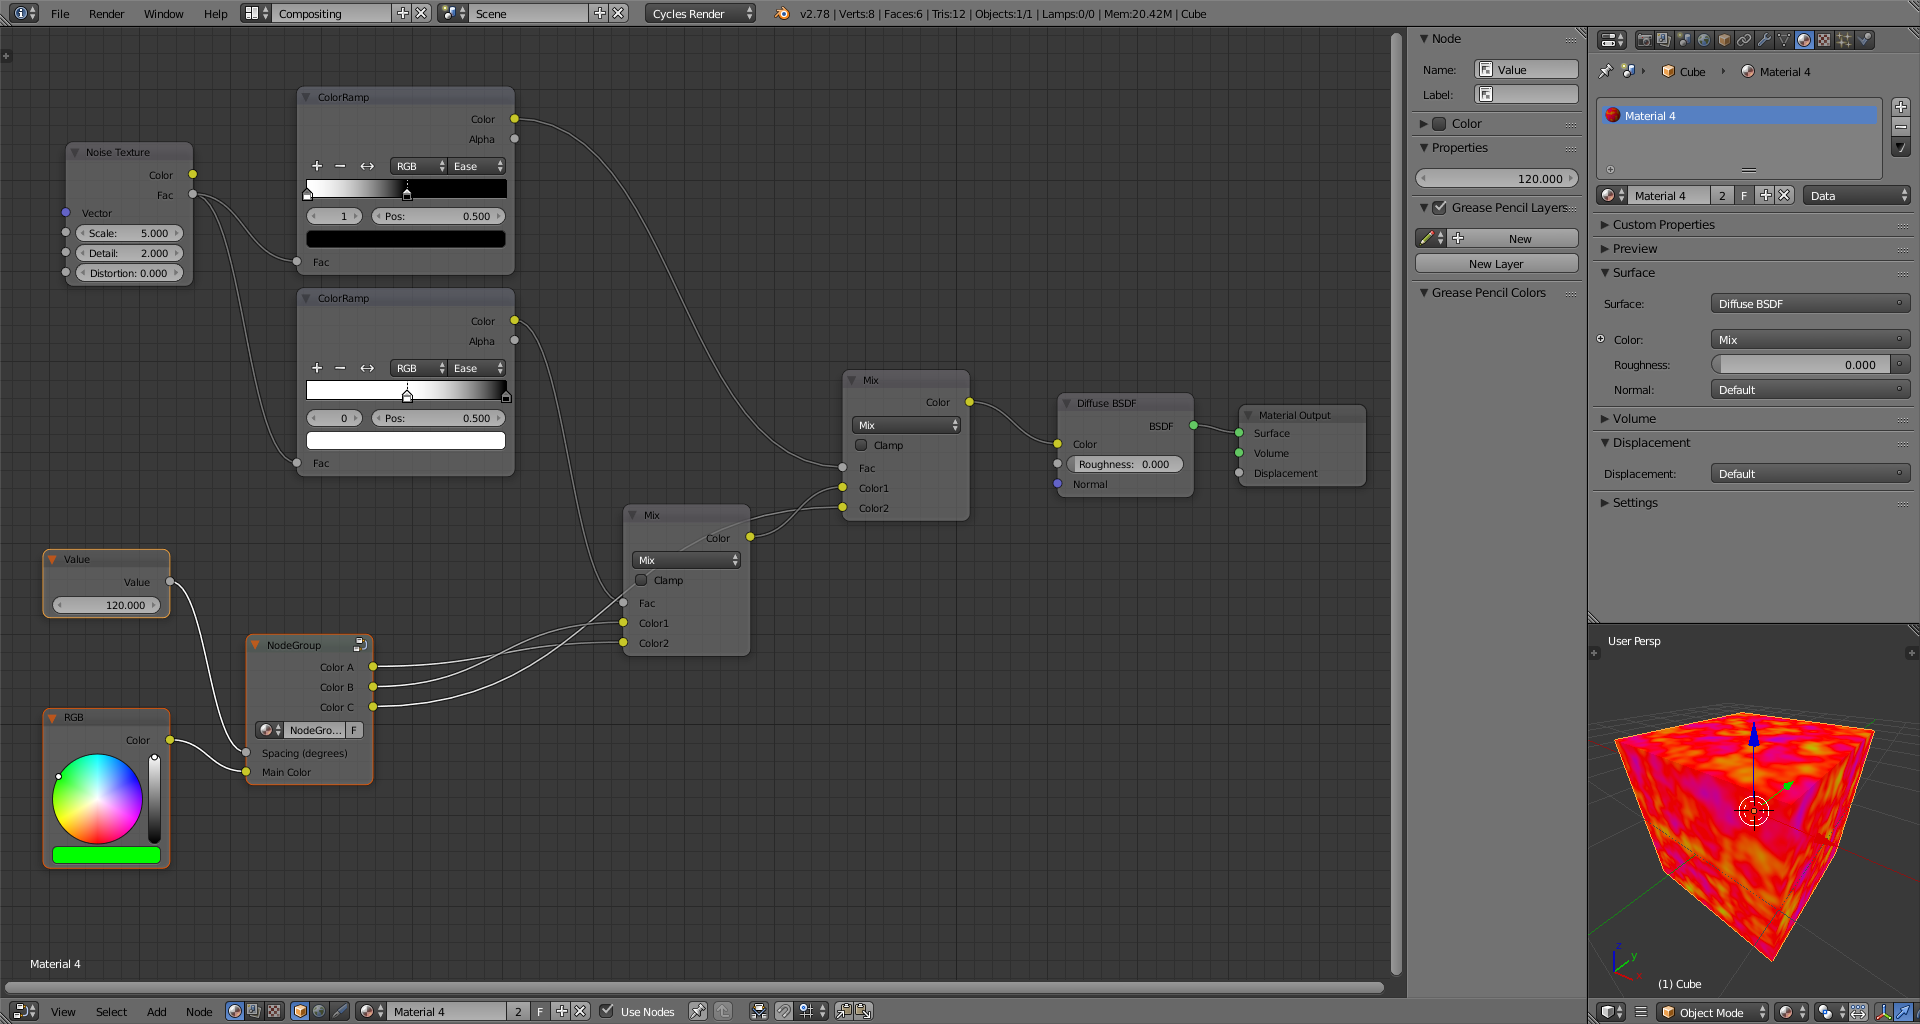
- Set up the material as shown below.
You can click on scaled down screenshots on this page to see their full scale versions.
I am not going to explain every little detail like how to select an object or how to add a new node. But if you find this tutorial interesting, chances are you don’t know some of these details. Please go through the setup above and google the bits you don’t know. If you are going to use Blender, you will need mad googling skills anyway. It might also be a good chance to familiarize yourself with the official manual.
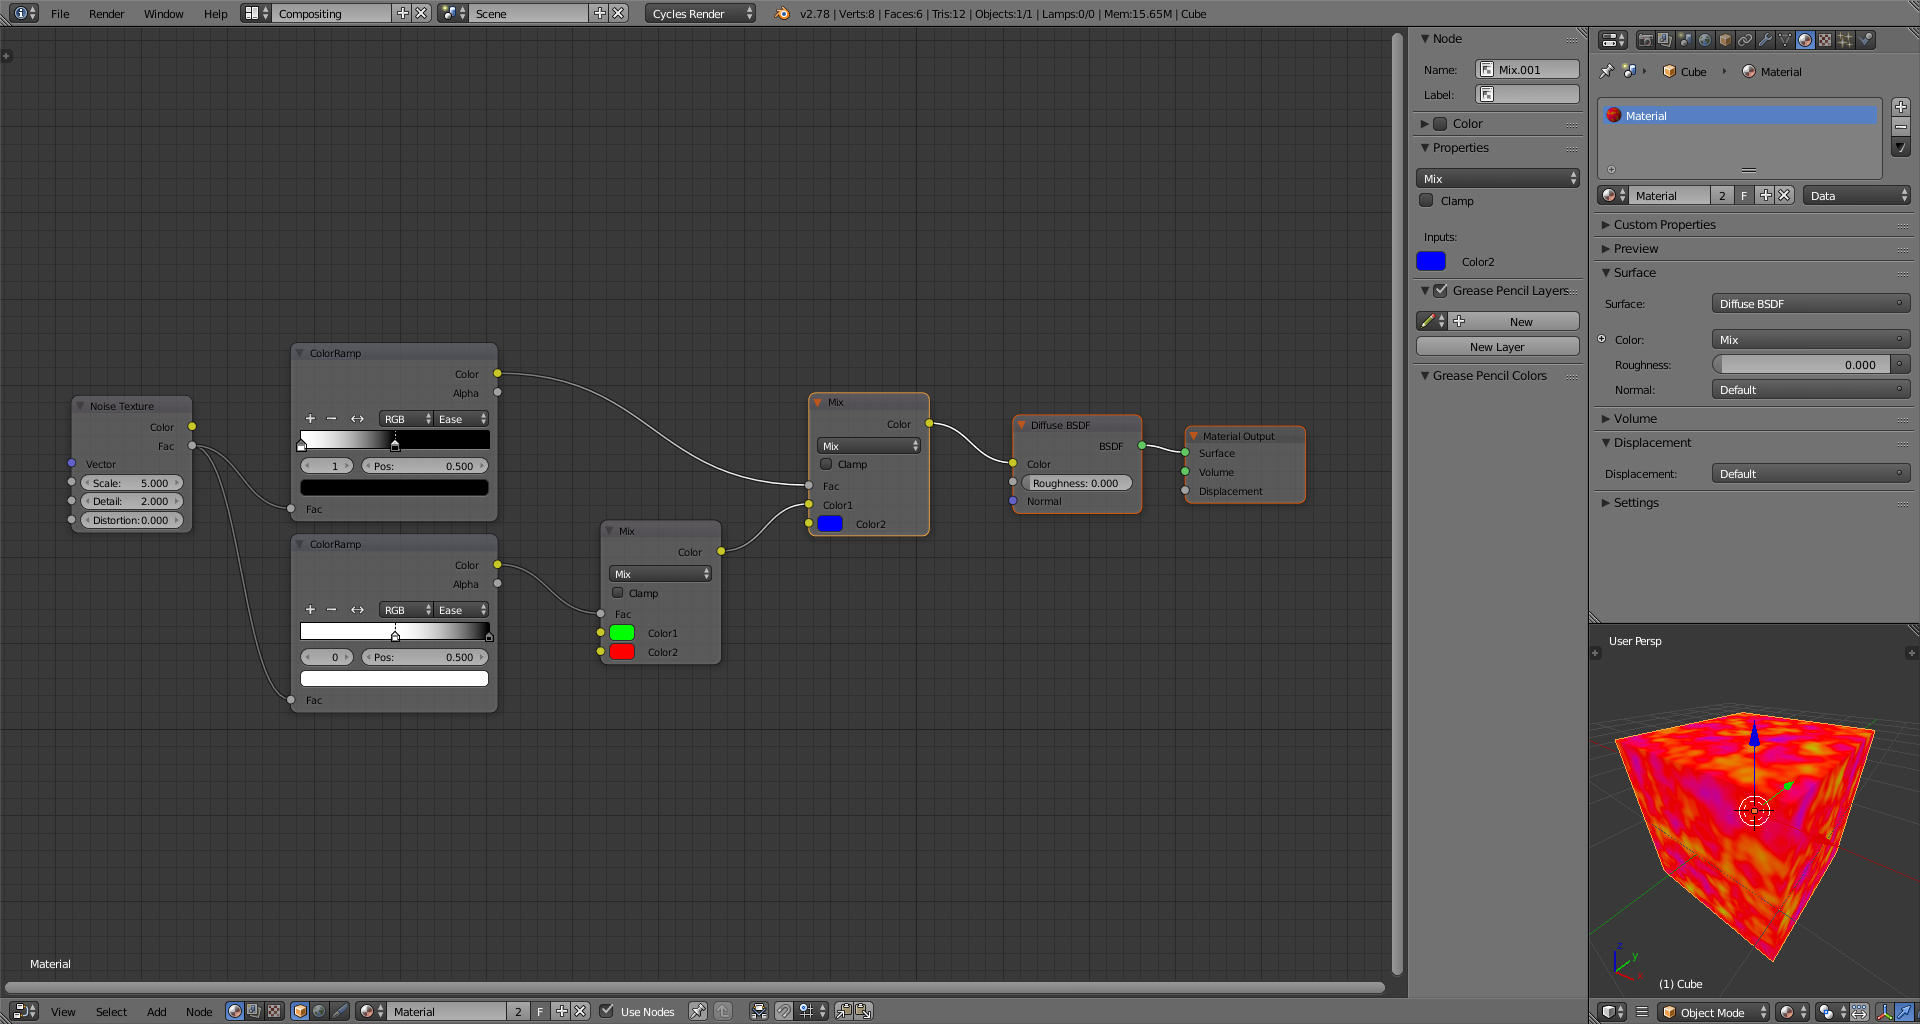
Notice the three color inputs (inside mix nodes); a pure red (100% red, 0% green and 0% blue), a pure green and a pure blue. These are placeholders for now. The node we will build will have one color input and an angle input. Given a pure green and 120 degrees, it will produce red, green and blue. See the arrangement below, which is essentially the same setup, if it’s not immediately obvious:
Building The Node
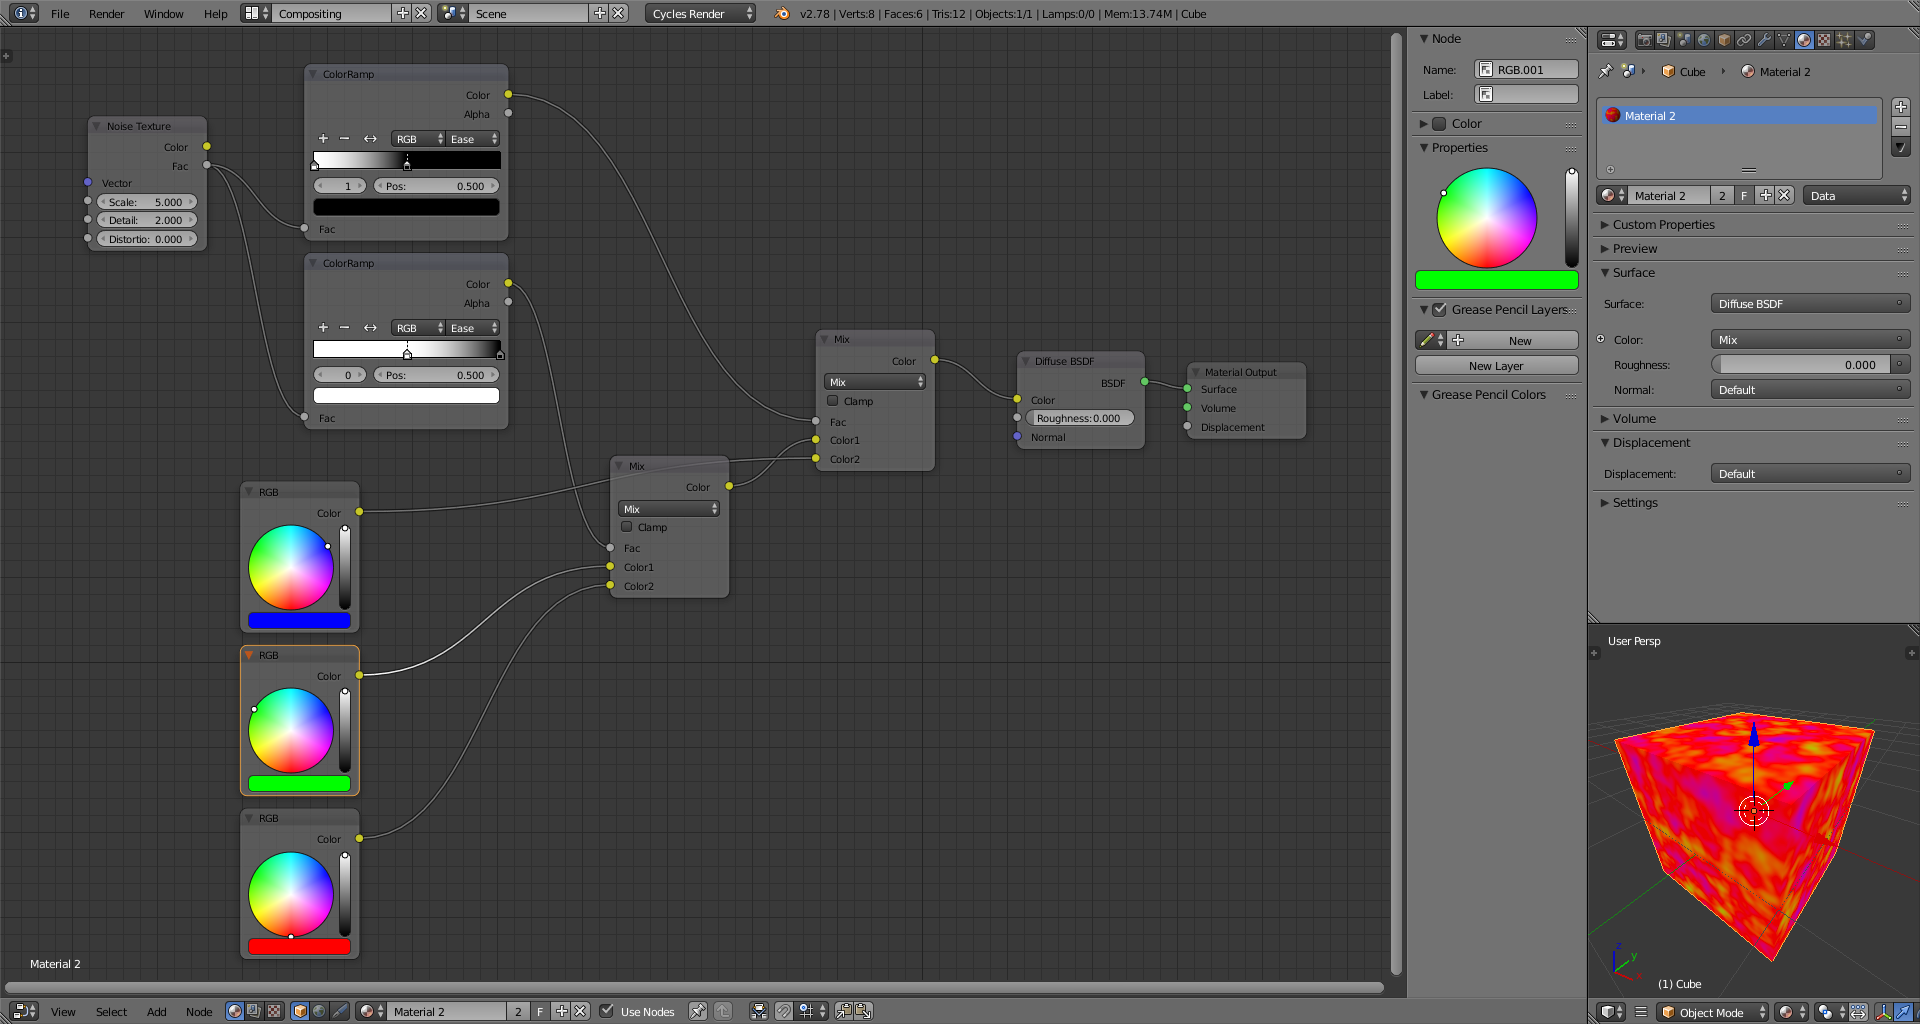
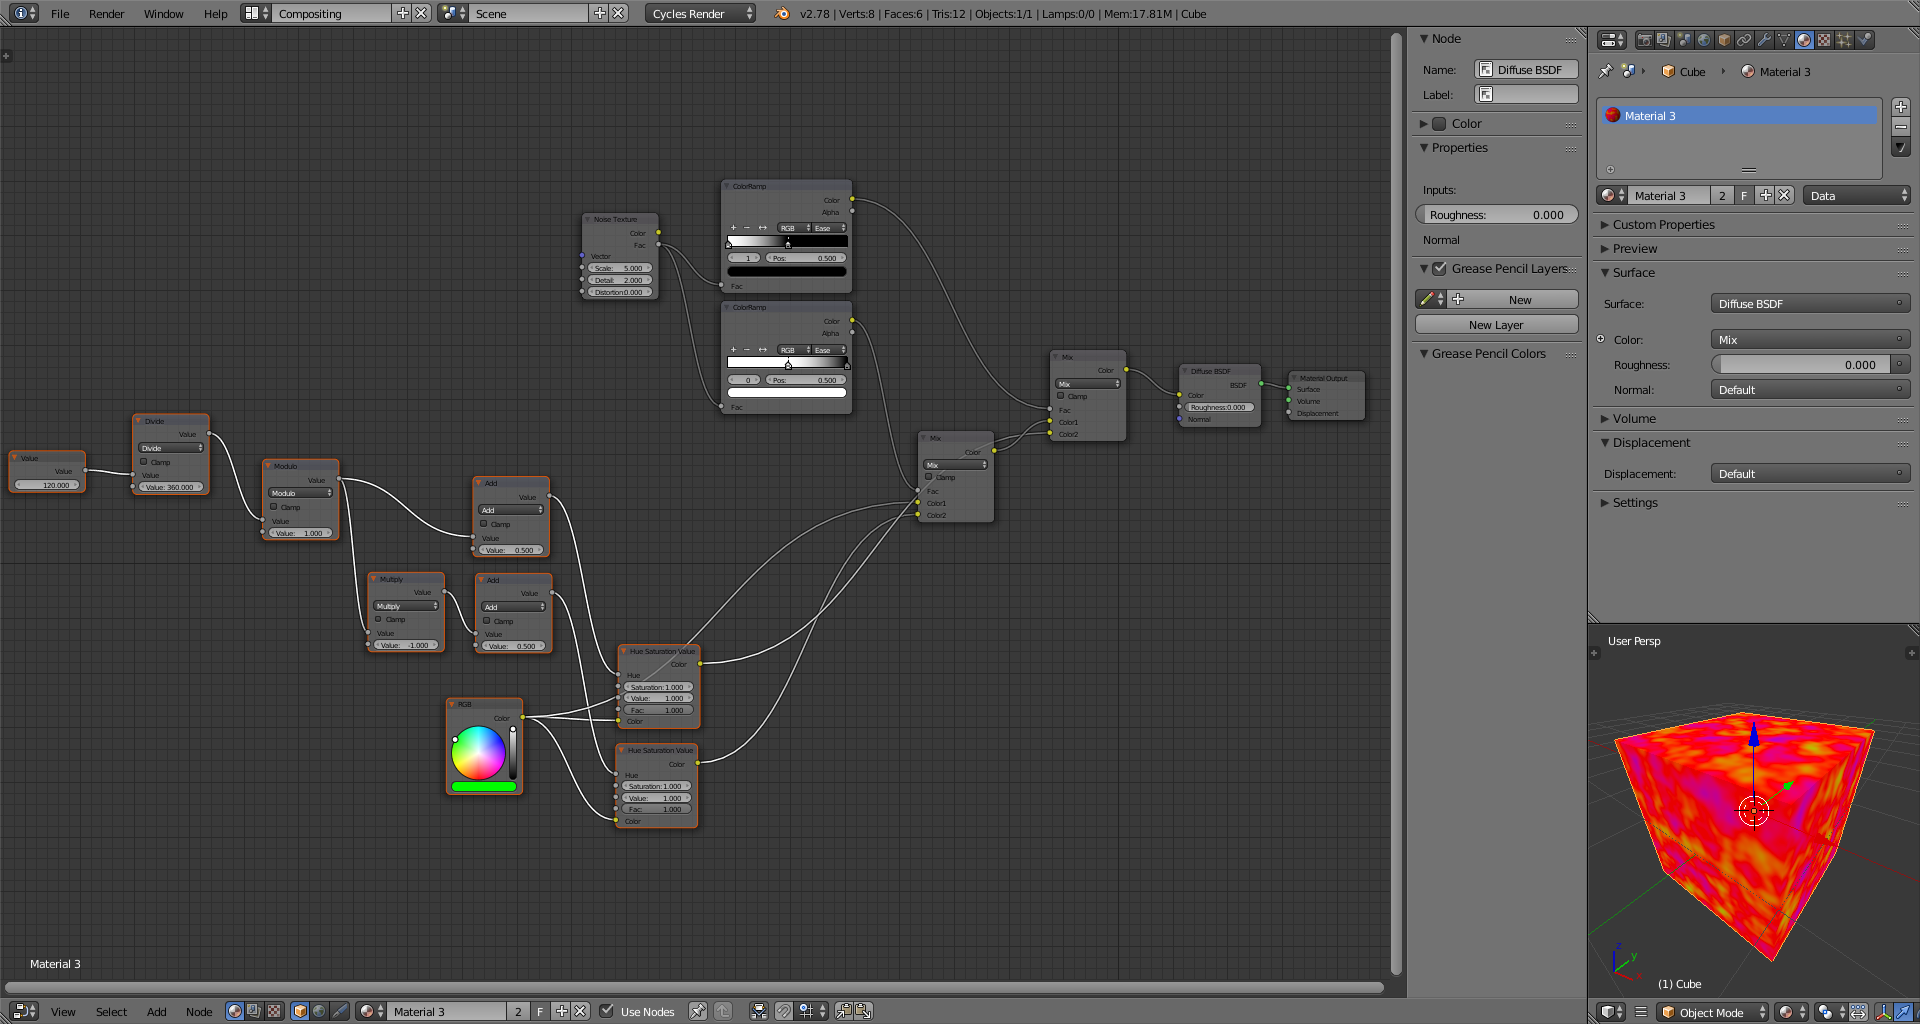
Here is all the nodes we will use to build our node group:

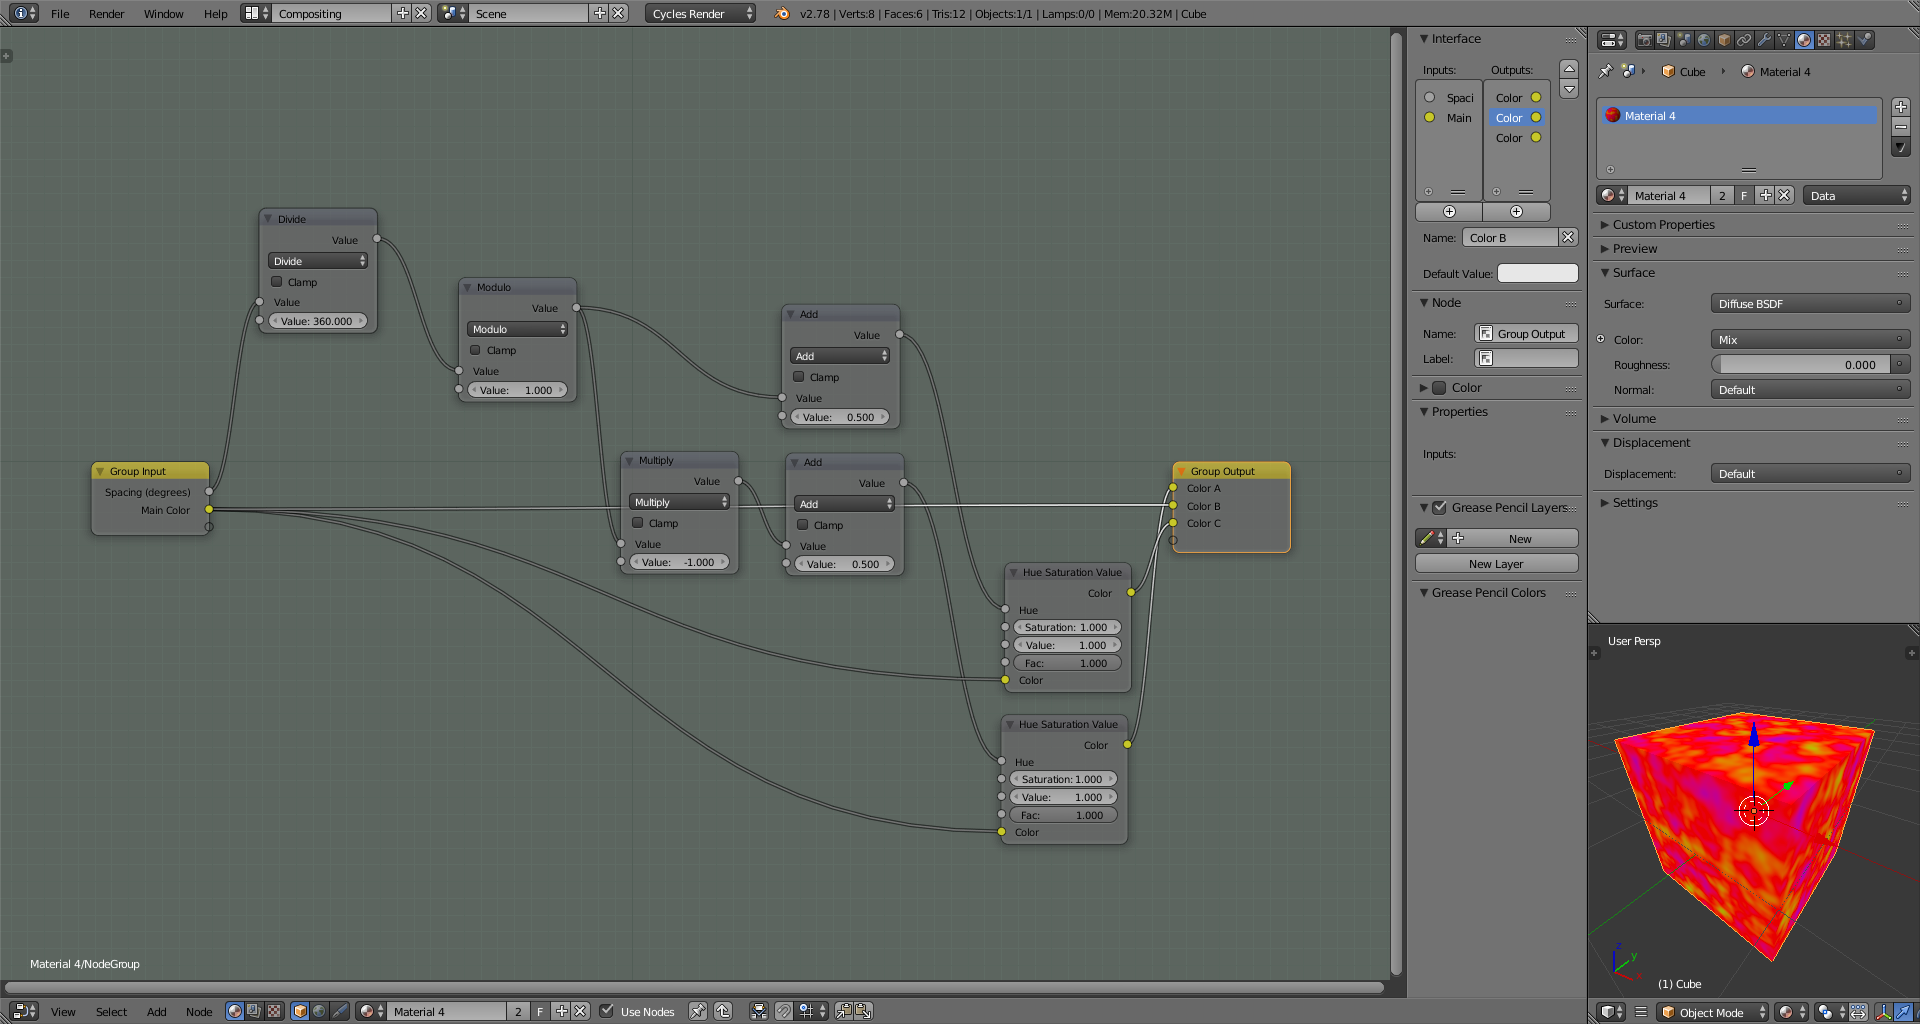
Let us start with the value input node (numbered 1). For convenience we will expect this to be in degrees. But internally values in [0.0, 1.0) range are expected. Node group numbered 2 does this conversion:
0   ⟹ mod(0.0 / 360.0, 1.0) = 0.0
60  ⟹ mod(60.0 / 360.0, 1.0) = 0.166667
120 ⟹ mod(120.0 / 360.0, 1.0) = 0.333334
270 ⟹ mod(270.0 / 360.0, 1.0) = 0.75
360 ⟹ mod(360.0 / 360.0, 1.0) = 0.0
720 ⟹ mod(360.0 / 360.0, 1.0) = 0.0
We could have also restricted input values to [0.0, 360.0] range, using the node group’s properties. But applying modulo is advantageous if the input is animated. For example two revolutions can be represented as a difference of 720 degrees, without worrying about setting it to 0.0 whenever the value reaches 360.0.
Nodes numbered 3 take our normalized value for hue spacing and do two things with it; they create negated copy of the input and add 0.5 to each. The goal is to produce hue difference values in both directions. The reason we add 0.5 is because Hue Saturation Value node has 0.5 as the default hue value, representing no hue change to the input color (and not Cyan, which has hue 0.5). So for the input of 120, the outputs of 3 nodes will be approximately 0.833334 and 0.166667.
Finally 3’s outputs are connected to two Hue Saturation Value nodes (numbered 4) on their Hue inputs, as well as the input color. This way we get one new color calculated at the angular distance in the color wheel relative to the input color, in each direction. Together with our input color, we would have three outputs. Here is a screenshot showing all nodes at once:
Final
We want a repeatable setup. Instead of creating and connecting all these nodes every time, you can save them as a node group in a file. And then, using linking/appending, reuse it in other projects. Here is what it looks like when our nodes are grouped together:
I have named the input and output values, but did not fully customize the group’s properties. At least you would want to give it a descriptive name.
Note that input color is directly connected to output named Color B in the image above.
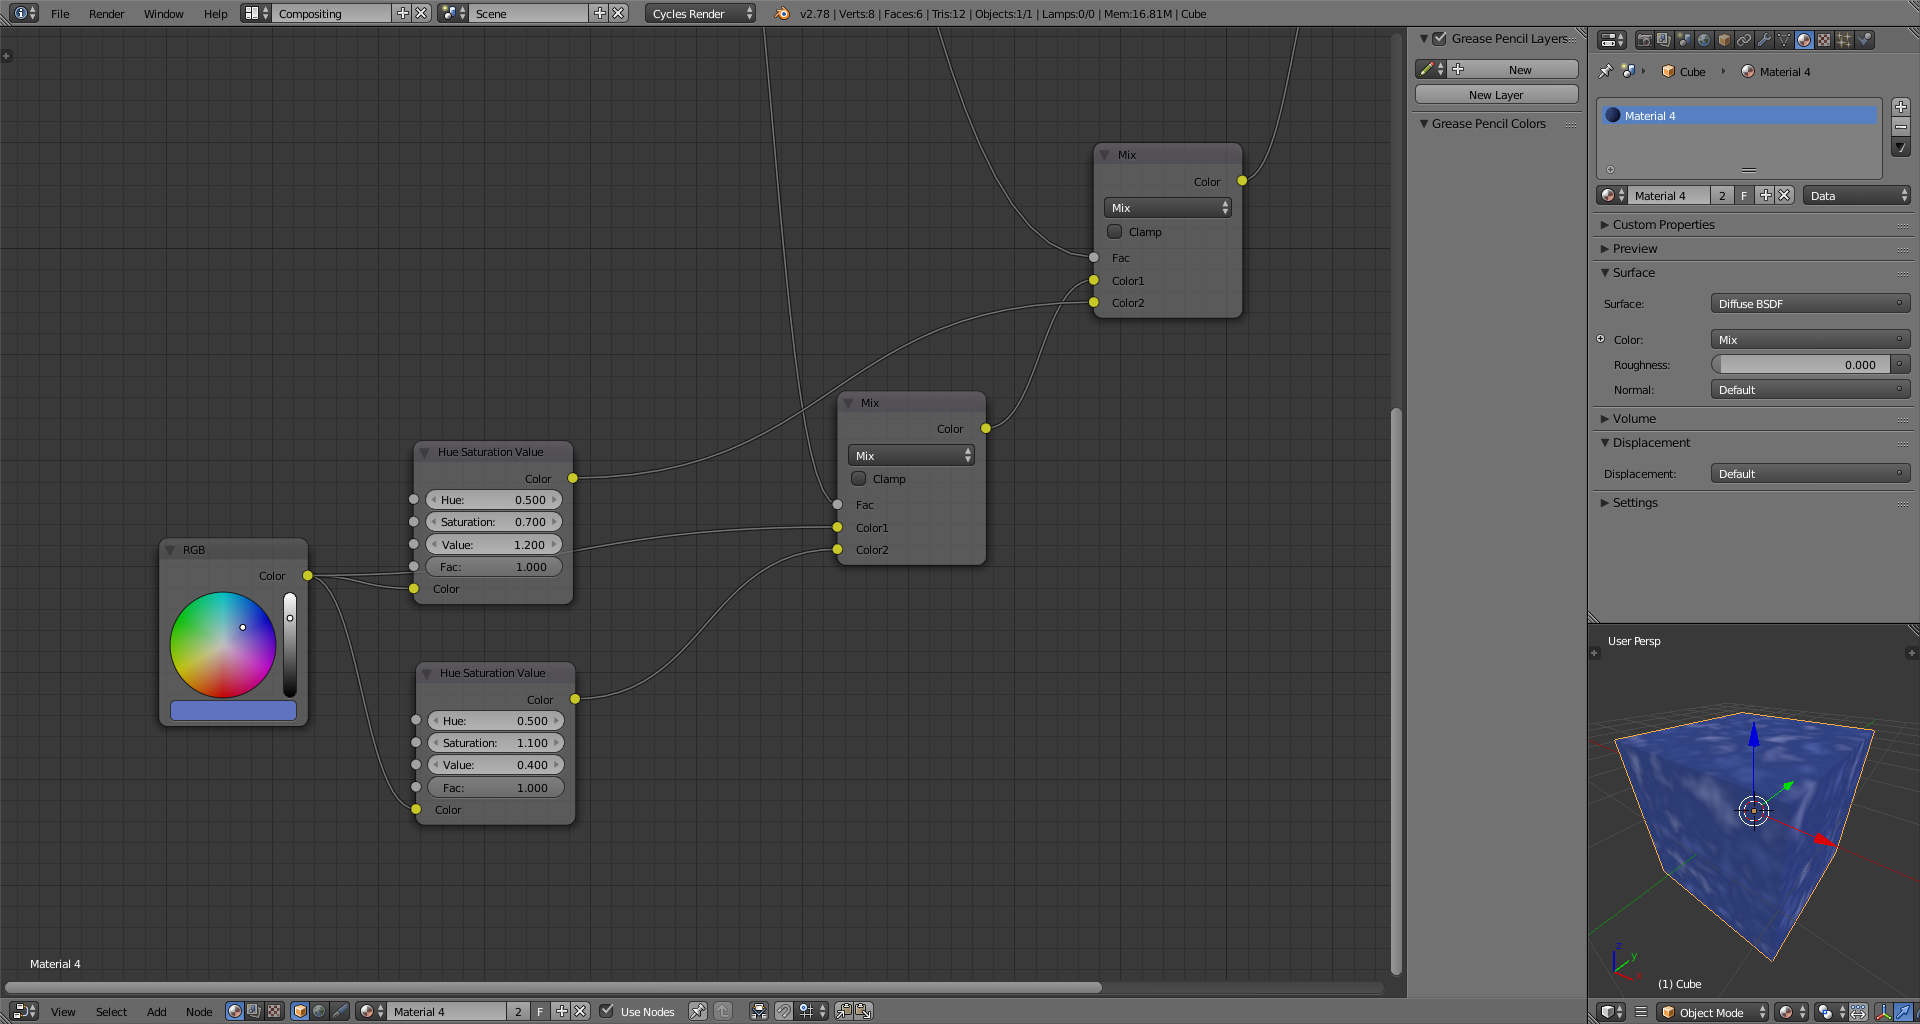
In this post we have varied only hues. Color schemes could also be created by varying saturation and lightness. In nature bright colors are generally not very saturated and saturated colors tend to be not so bright. Image below shows a node setup that simulates this:
If you have any questions, suggestions or corrections feel free to drop me a line.